Hello everyone!
In this blog I’m going to teach you how to make an easy Christmas floral centerpiece that will last all through the holiday season!
I hope you enjoy making your arrangement, drop me a line if you have any questions!
Xoxo
Sarah
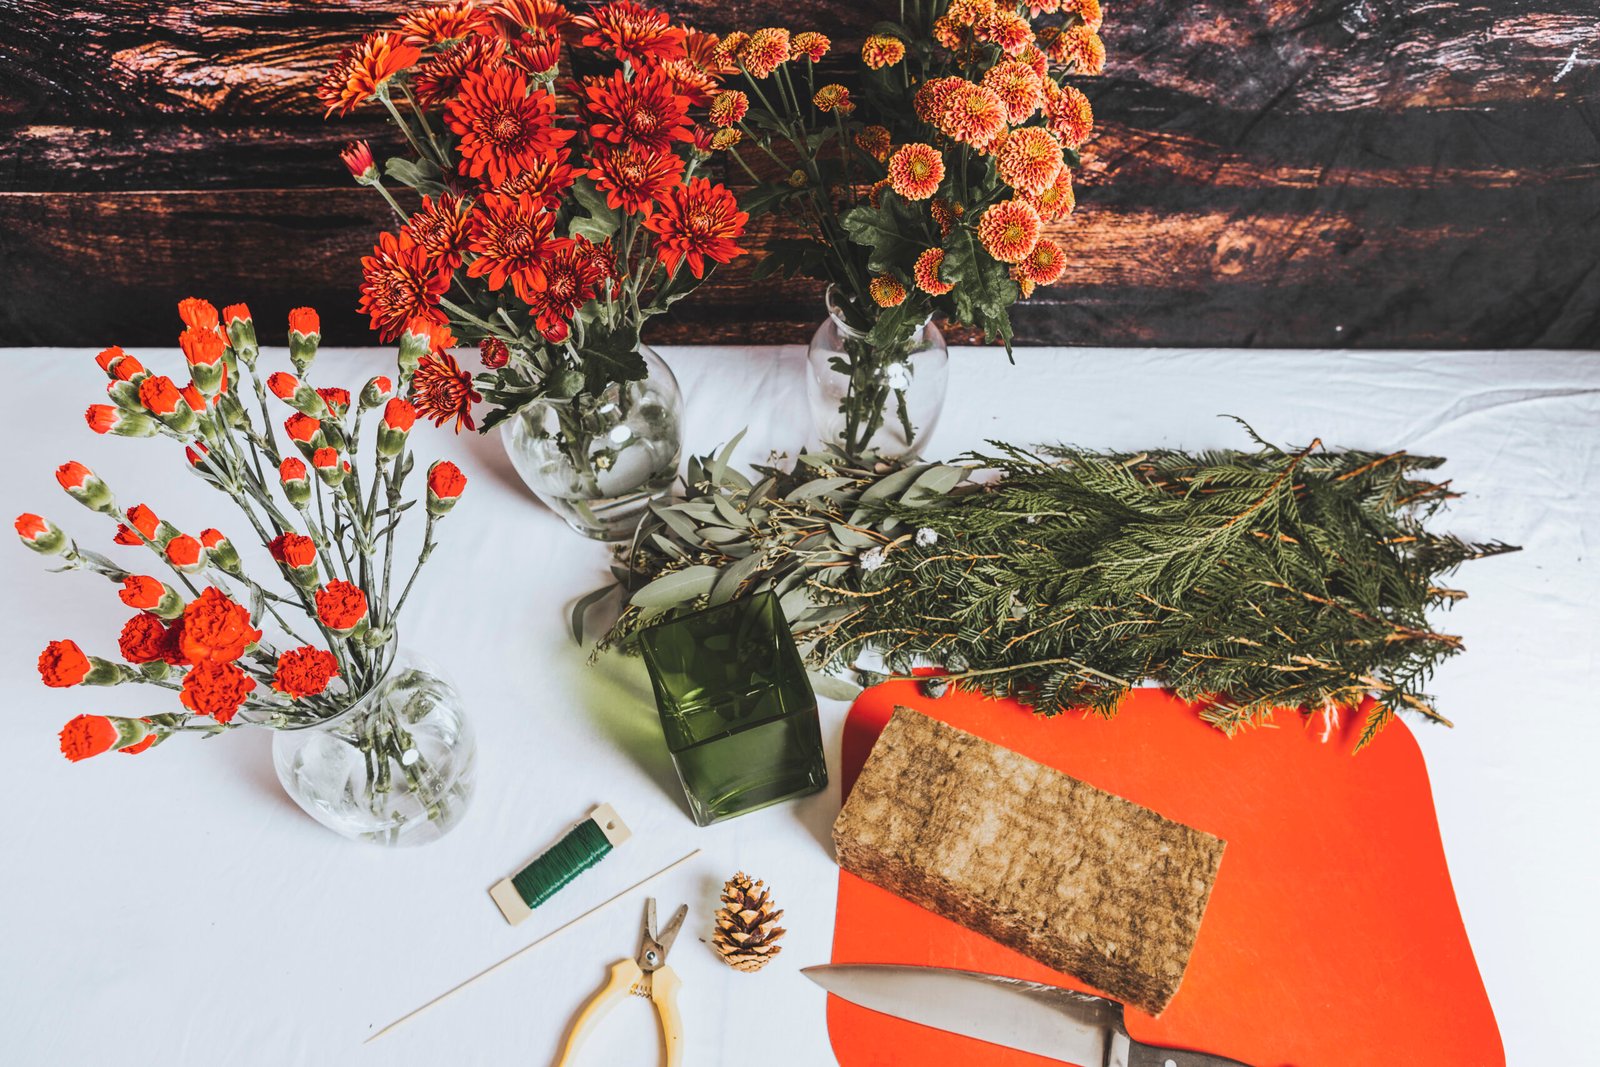
Step 1: Gather Supplies
- Flowers (I used spray mums, button mums, and miniature carnations). You can purchase these bulk from my online store (www.youfloral.ca)
- Greenery (I used cedar, fir, and seeded eucalyptus)
- Vessel (plastic/glass… doesn’t matter)
- Floral foam (the green oasis stuff – or I used agra-wool, which is a biodegradable alternative to the traditional green foam)
- Pruners
- Floral wire (I used 24 gauge)
- Pinecones
- Skewer or small stick
- Kitchen knife
- Cutting board
- Bowl filled with water
- Container for compost
Step 2: Prepare the Vessel
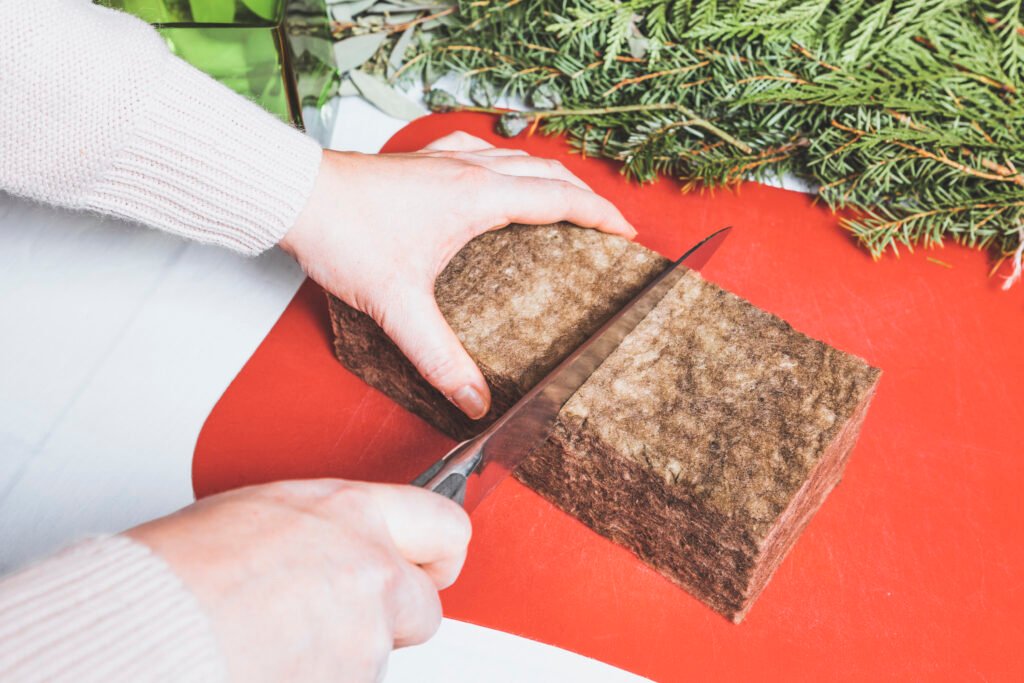
- Whether you’re using floral foam or agra-wool, the steps are the same here. Cut your foam using a kitchen knife.
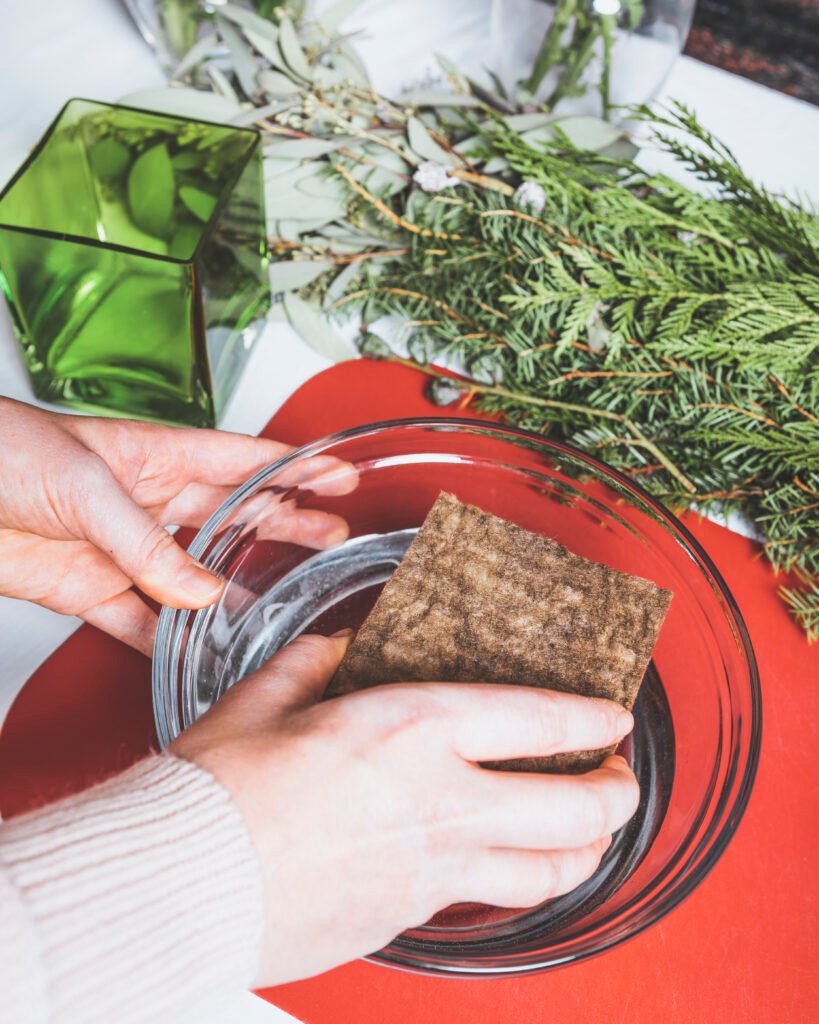
- Then gently place it on top of the water – DON’T FORCE IT TO SUBMERGE. It’ll gently sink, over a few seconds.
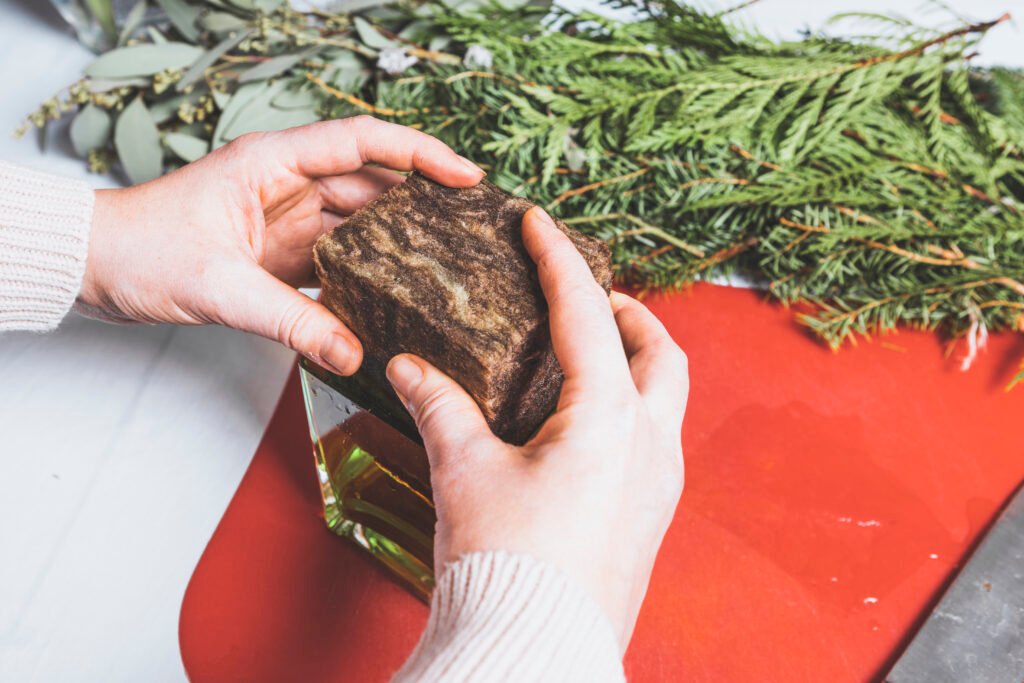
- Once its fully saturated, shake off the excess water and put the foam in your vessel.
Step 3: Green It Out
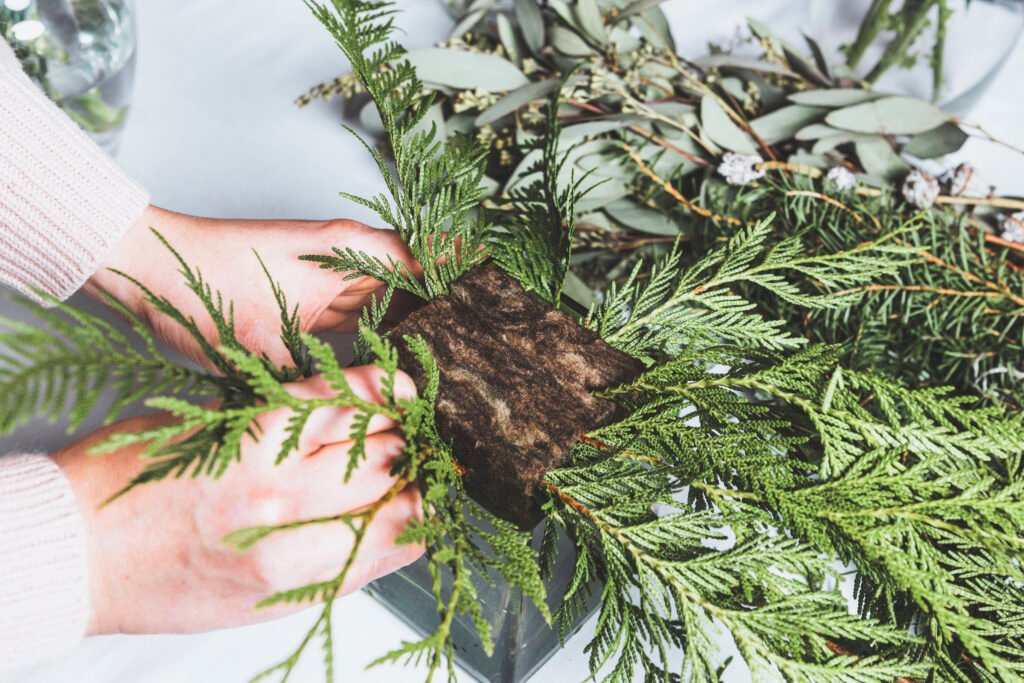
- I always start with greenery, whether I’m making a bridal bouquet, or a centerpiece.
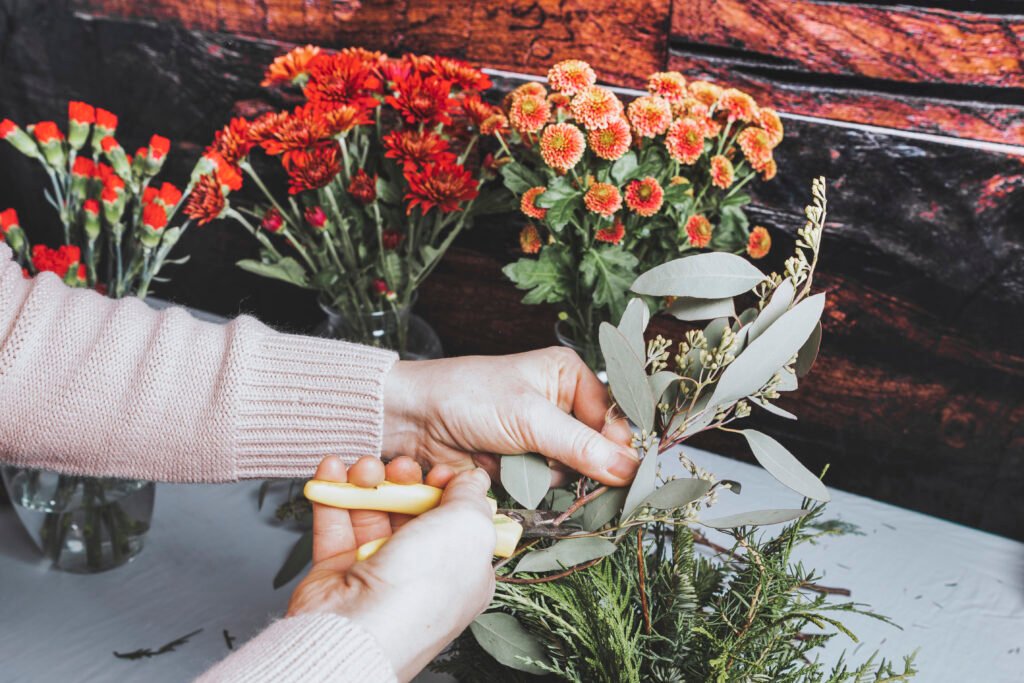
- In this arrangement, I gently put the greenery into the floral foam, leaving space between the sprigs to allow for adding my flowers later. If you’re using agra-wool – it takes a little more oomph to push the flowers in compared to traditional foam.

Step 4: Add in Flowers
- Beginning with the largest sized blooms (my spray mums in this case) start filling in the arrangement. The secret to creating luxe arrangements is to use a variety of flower/greenery types (hence why I choose three types of flowers) and to have your flowers on different “elevations” – some taller, some shorter, so make sure you’re putting the flowers all throughout the foam.
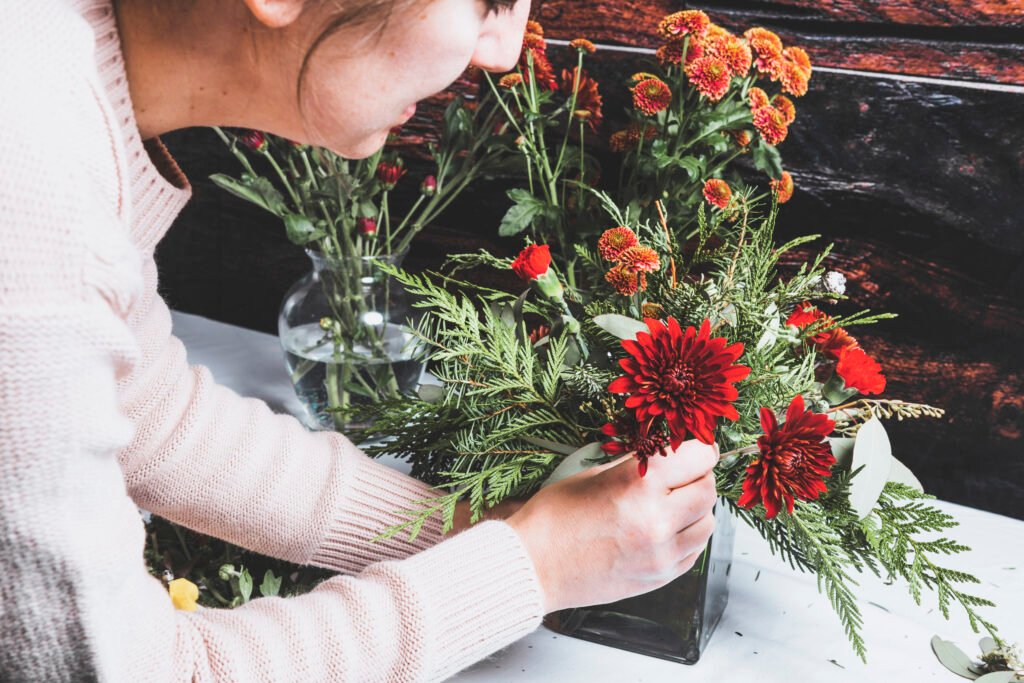
- After I’ve added in my spray mums, I add in the button mums, and then the mini carnations. The mini carnations have quite a few blooms on one stem, so I sometimes cut one stem into two pieces.
Step 5: Add the Pinecones
- This step is obviously optional, but I think it adds cool texture to the arrangement! You’ll need your 24 gauge floral wire, and skewer. If this seems a bit complicated (its not once you get the hang of it! I have a video in this blog showing how to do it)
- Taking the floral wire, cut a piece about 1.5 feet long, and then center the pinecone in the middle of the wire piece.
- Nestle the wire into the pinecone grooves, then twist the wire – this results in your pine cone attached to the wire.
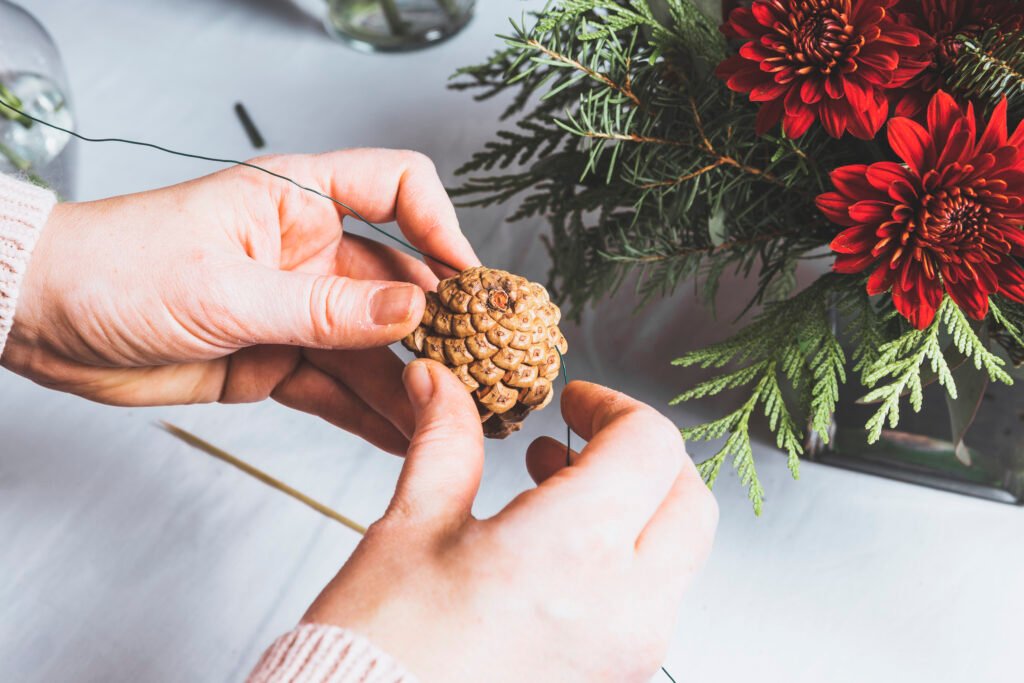
- You then place the skewer next to the pine cone, and wire the pine cone onto it.
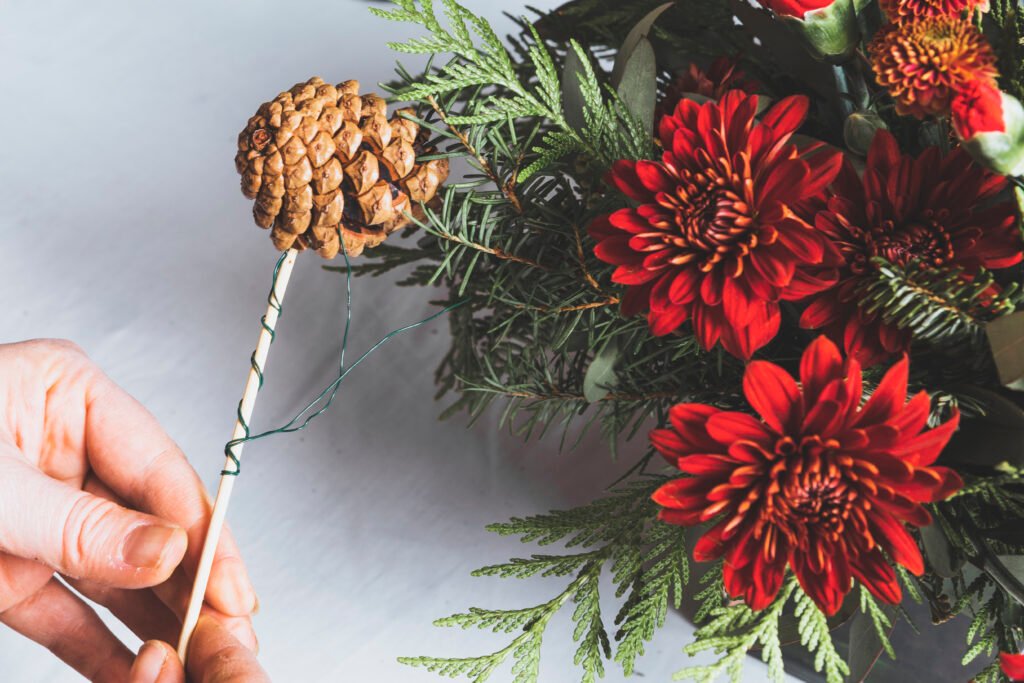
- Now you’ve got your pine cone elevated onto the skewer, so put it where you like!
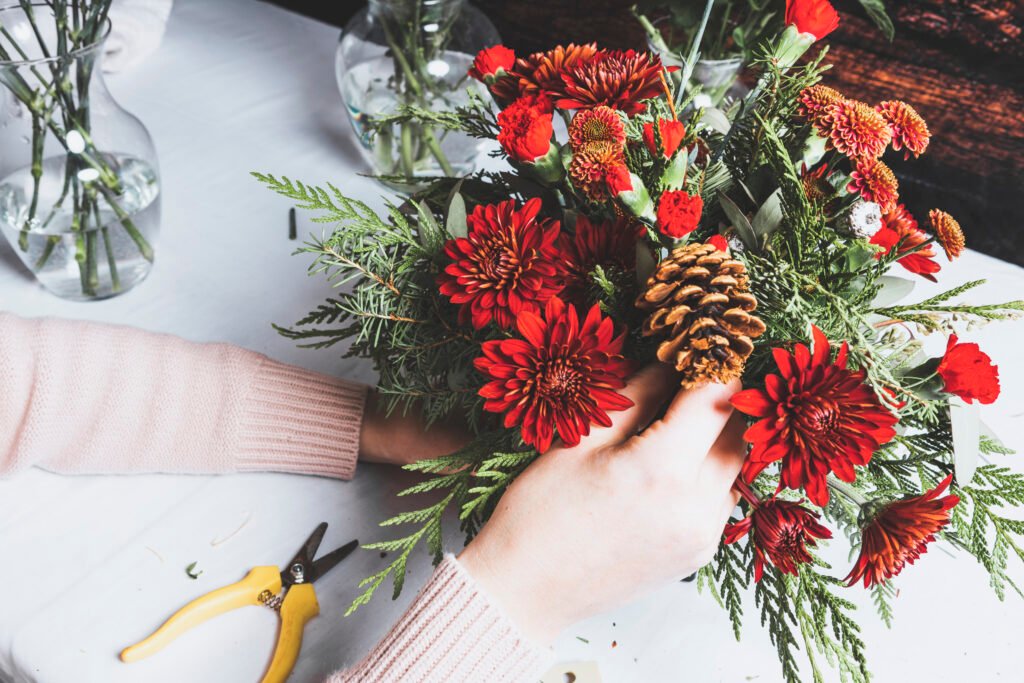
Step 6: Do the Final Look
- Tada! You’re done! I like to spin the arrangement around now, checking for any missing gaps or places where I want to adjust my flowers.
- The floral foam stays absorbent, so you can add water into the vessel every couple days and the foam will wick it up
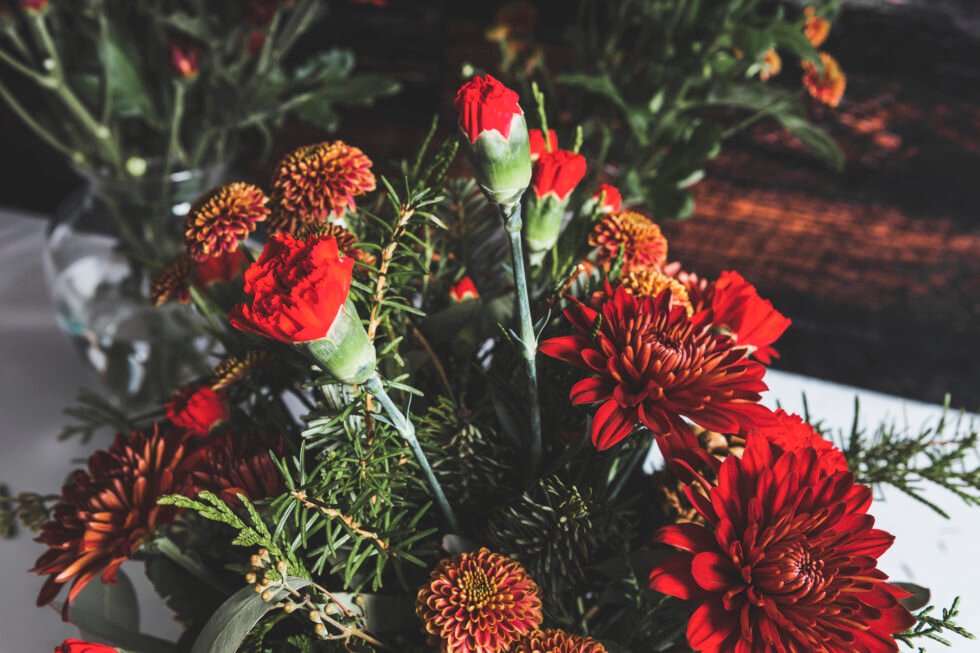
I hope you have fun making this arrangement!


