How to Press + Preserve Flowers at Home
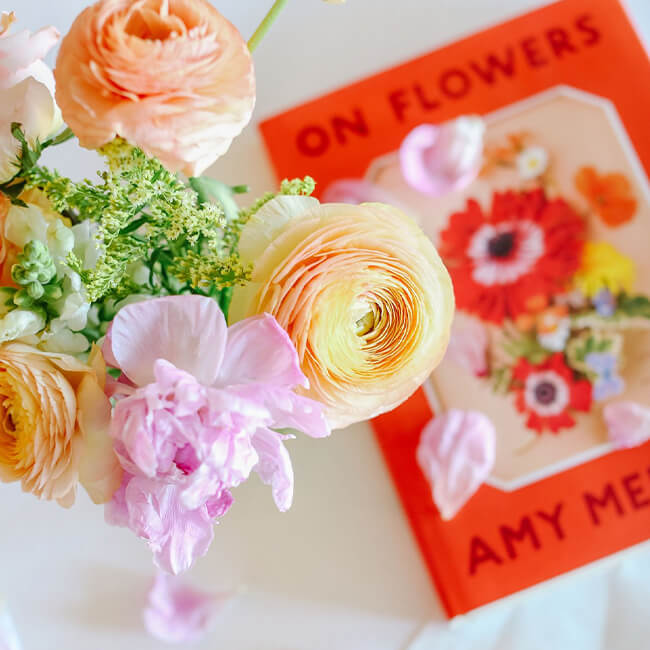
I’m so excited to have partnered with Erin from Bowie Mae (https://www.bowiemae.ca/) to create this mini-tutorial. Erin is a dried floral expert – I so appreciate her joining up with me to teach you how to press your own flowers/greenery with some items in your home!
What you need:
- Flowers – could be from your garden, local florist, or foraged treasures from a hike
- Book – ideally something big and heavy
- Parchment paper
- Scissors
Step 1:
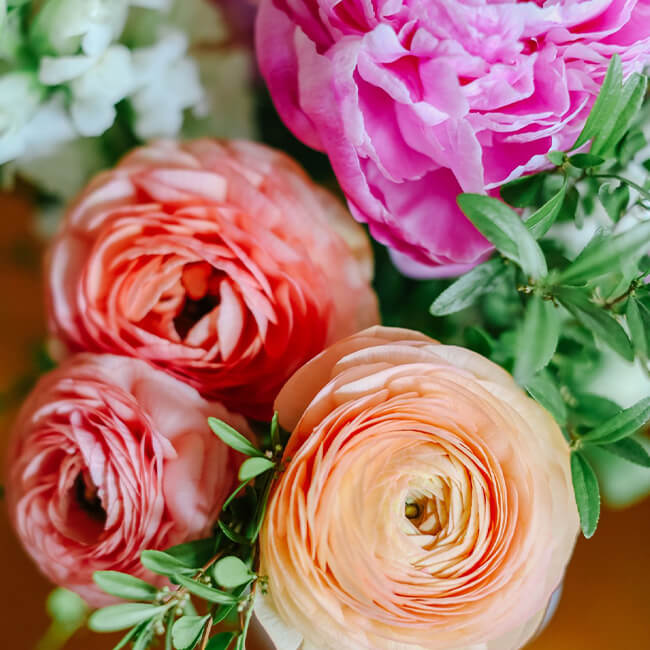
Gather small flowers, greenery, and/or petals. It’s best to forage on a dry, sunny day, to avoid any moisture or dew. If wet flowers are pressed, it’ll invite mold. The best time for pressing is when flowers are dry, freshly harvested, and fully bloomed.
Step 2:
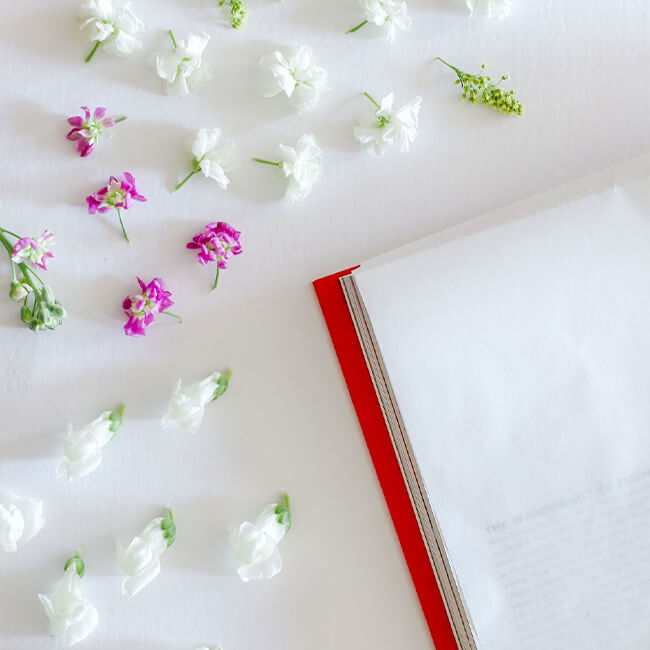
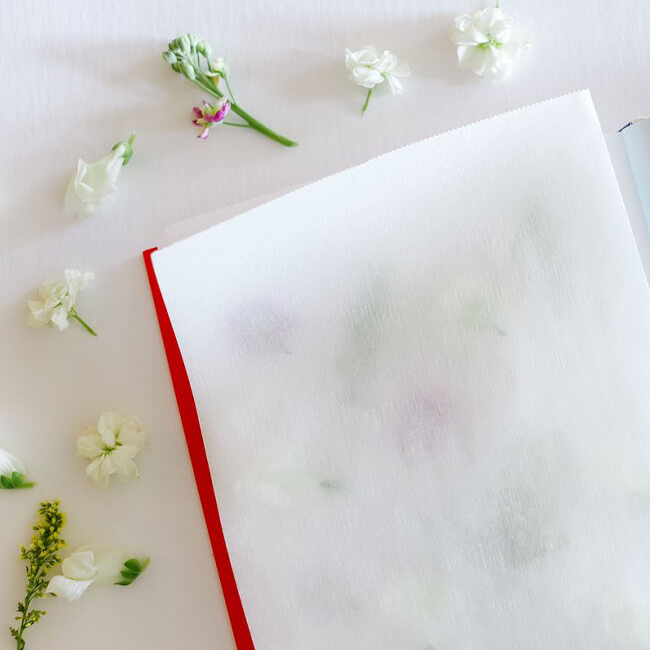
Line your book with a folded piece of parchment paper. Find a page near the back of the book, to add more weight to the flowers. Deconstruct the flowers or greenery, if needed. Smaller, more delicate blooms have a better chance of successfully pressing.
Step 3:
Remove any unwanted leaves or brown spots from the flower. Place each one face down on your paper, checking for any folds on the petals.

Step 4:
Carefully close the book and add more weight by stacking any kind of books you have around your home.
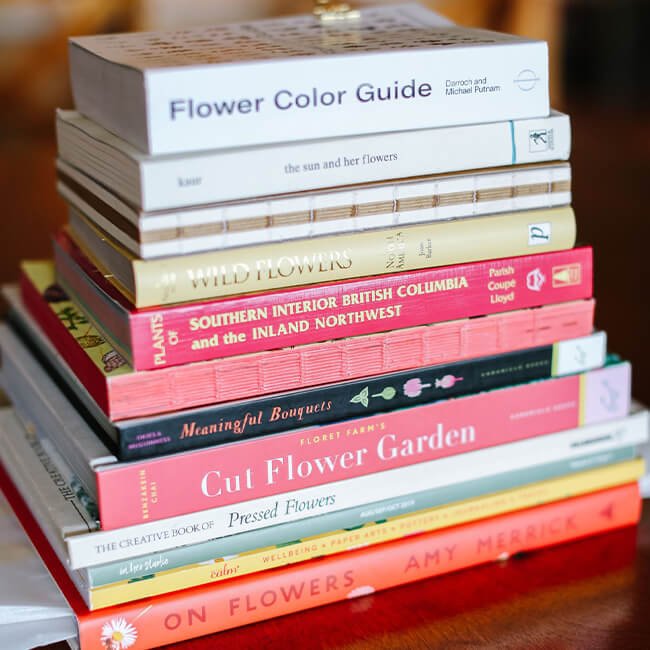
Viola! Now – you wait! In 2-3 weeks you’ll have dried, pressed florals memories that are preserved forever.
If you enjoyed this tutorial, hop over to Instagram and follow along! Erin is @bowie.mae and I’m @_youfloral – we would love to hear how this worked out for you!
xoxo
Sarah


