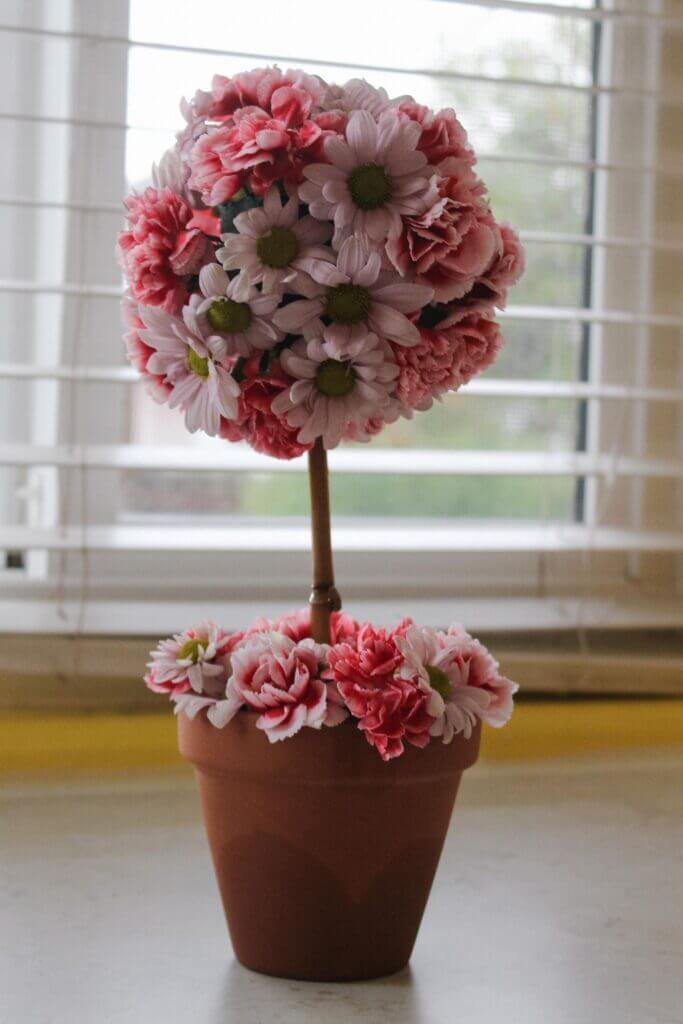
Follow along for a step-by-step tutorial on how to create your own lollipop floral arrangement. This project is completely customizable; you can pretty much use any flowers/greenery, any pot, any stick. It’s so easy to add your own personal touch!

Supplies needed:
- Floral foam
- Clippers
- A bucket of water
- A knife and cutting board
- A stick of bamboo
- A pot
- Flowers

Step 1:
First, figure out how you want your lollipop to look, from how long you want the stick to be, to how big you want the top to be. This all depends on the size of your pot, and your personal preference. Once you’ve figured that out, you need to cut 2 squares of floral foam using a large, sharp knife. One piece to place snuggly in your pot, and one for on top. You also need to cut your bamboo down to size using your clippers.

Step 2:
Once your foam and bamboo are cut down to size, it’s time to wet your floral foam. Place foam on top of a bucket of water and let it sink to the bottom itself. Once it sinks to the bottom, remove, and shake out excess water.

Step 3:
Time to assemble your lollipop. Place one square of your wet foam into the pot, ensuring its nice and snug. Place the bamboo stick firmly into the foam, and then add the other piece of foam to the top of the bamboo, making sure not to push it all the way through.


Step 4:
Now, to start adding your flowers. I suggest cutting the flowers as you go as you’ll need different lengths to create a nice circle on top. Be very gentle as you insert the stems to prevent breakage and sagging. Keep adding flowers around the floral foam until it looks full, with no gaps, and no floral foam showing.


Step 5:
You can now start adding flowers to the inside of the pot. You’ll need these pieces a bit longer depending on how big your pot is and how you want the flowers to sit. Once completed, use remaining flowers to fill any spots that need filling. And voila, you’ve made your own lollipop floral arrangement! How easy was that?!


