Learn How to Make a Fun and Easy Dried Fall Pumpkin Centerpiece!
Grab a pumpkin and gather up your favorite dried flowers to make a long lasting and beautiful arrangement that will complement your fall decor and have all your guests talking!
Step 1: Gather Up Supplies
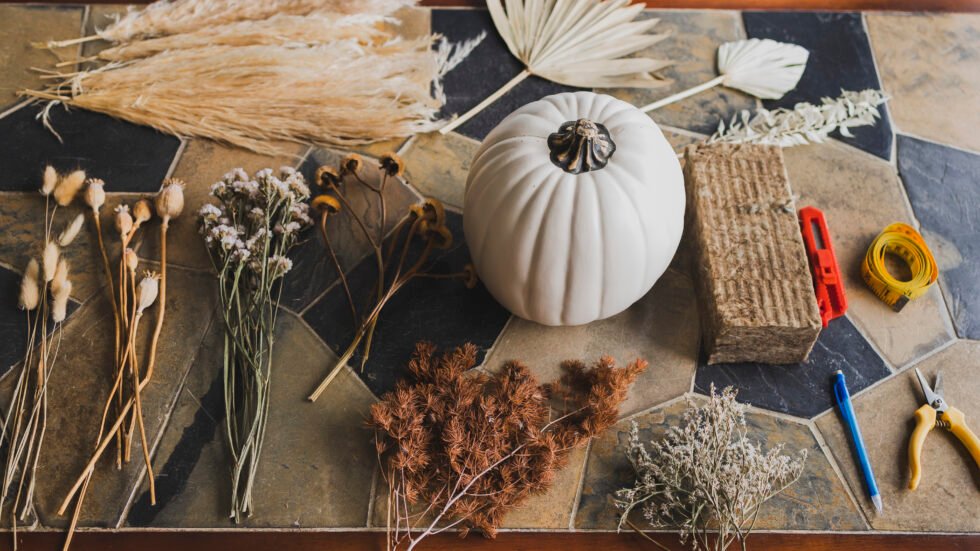
For dried florals we used:
- Pampas grass
- Palm leaves
- Statice
- Bunny tails
- Italian ruscus
- Gerrman statice; and
- Poppy pods.
Other supplies needed are:
- Faux pumpkin
- Pruners
- Exacto knife
- Floral foam
- Measuring tape
- Faux or real pumpkin; and
- Pencil.
Step 2: Measure Where You Want To Cut
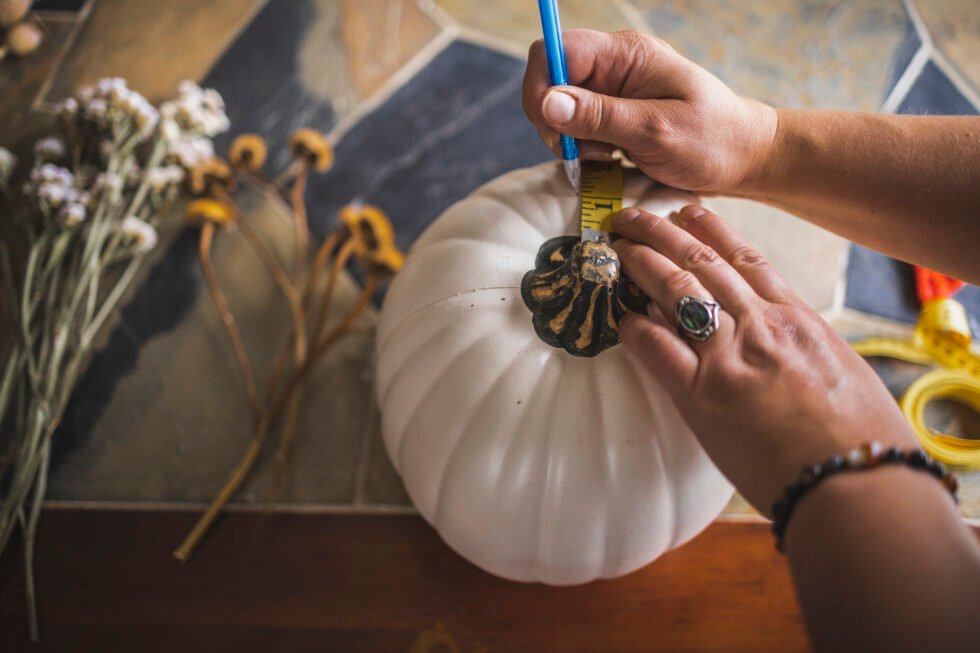
If you’re a precise type of person, use a pencil and measuring tape to outline where you will make the cut for the opening for the pumpkin. If you’re less type A than us… you can just wing it! There is no right or wrong, the dried florals will end up covering it if you have a slightly jagged cut.
Step 3: Cut Your Pumpkin
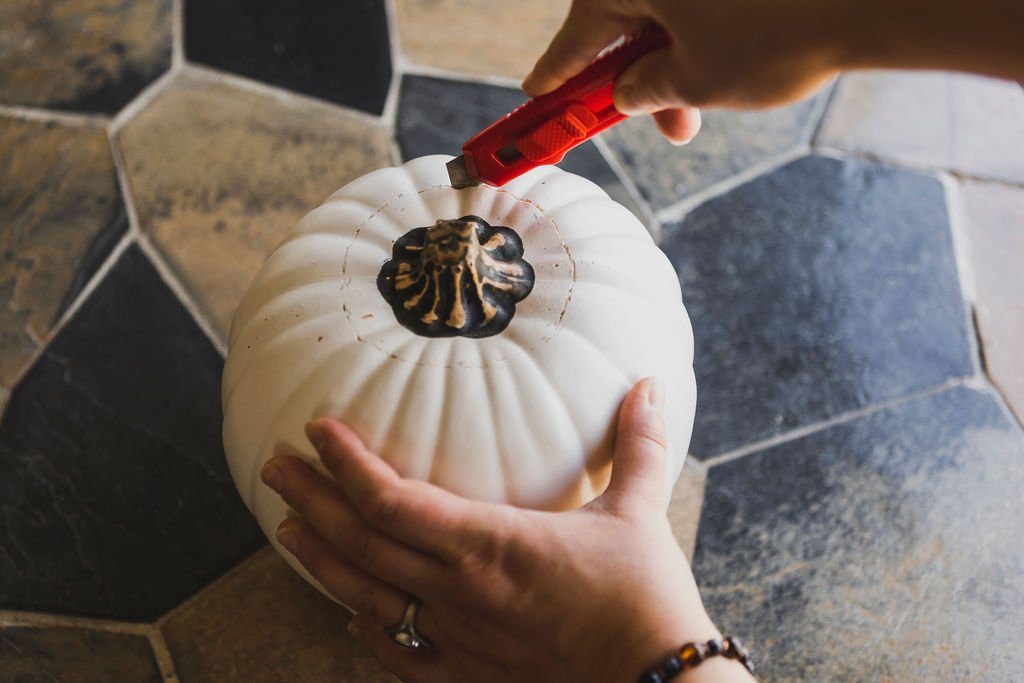
Obviously being very very very careful, use your exacto knife and cut the opening of the pumpkin (we used a faux pumpkin, if you use a real one, you will probably need something stronger than an exacto knife, and make sure to scoop out the center seeds as well).
Step 4: Cut Floral Foam to Size
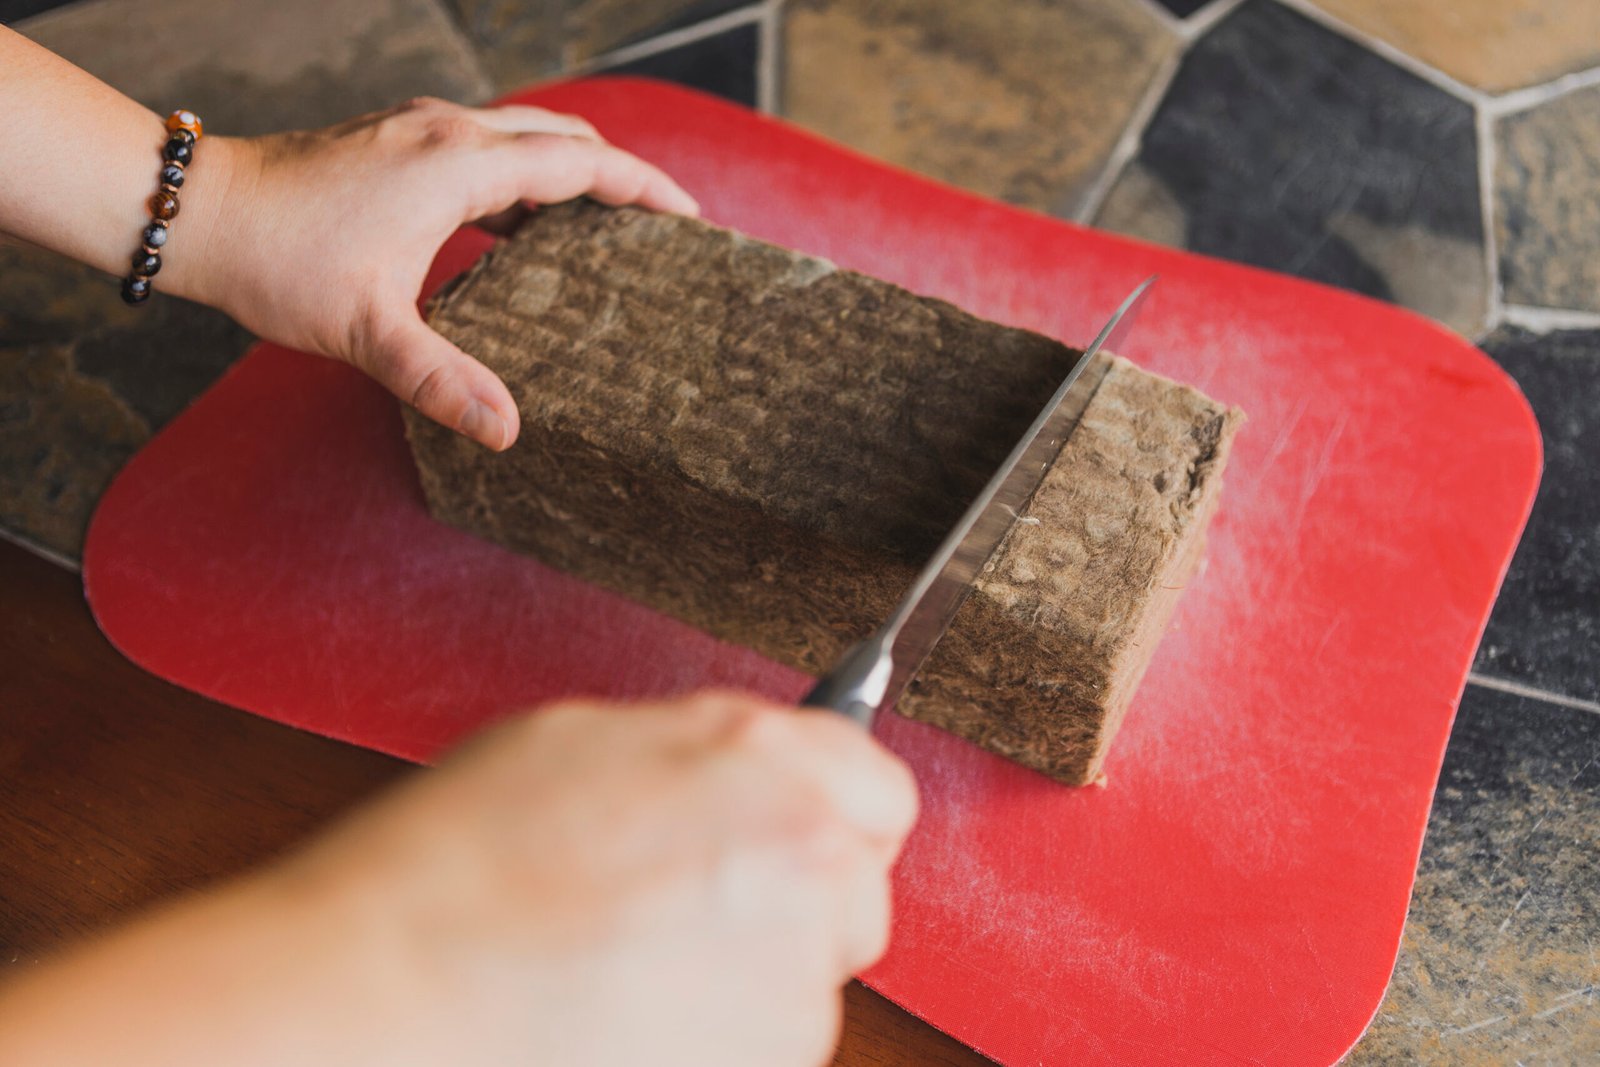
We used Agra-Wool, but you could use the standard green stuff, or use chicken wire if you’d rather! You can make this same craft with fresh flowers (rather than dried), and if you do that, you’ll soak the foam first in water. Since dried flowers don’t need water, we don’t soak it.
Step 5: Fit Foam Into Pumpkin
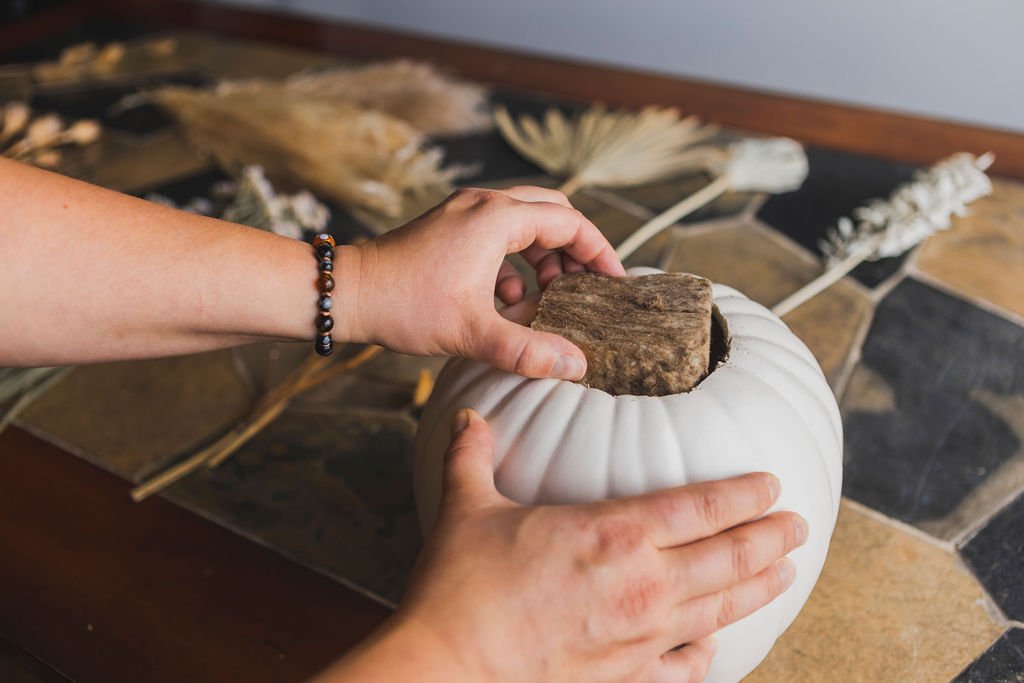
Don’t worry if the foam sticks out a bit, but try to make sure it covers the hole adequately.
Step 6: Cut The Pampas Into Smaller Pieces
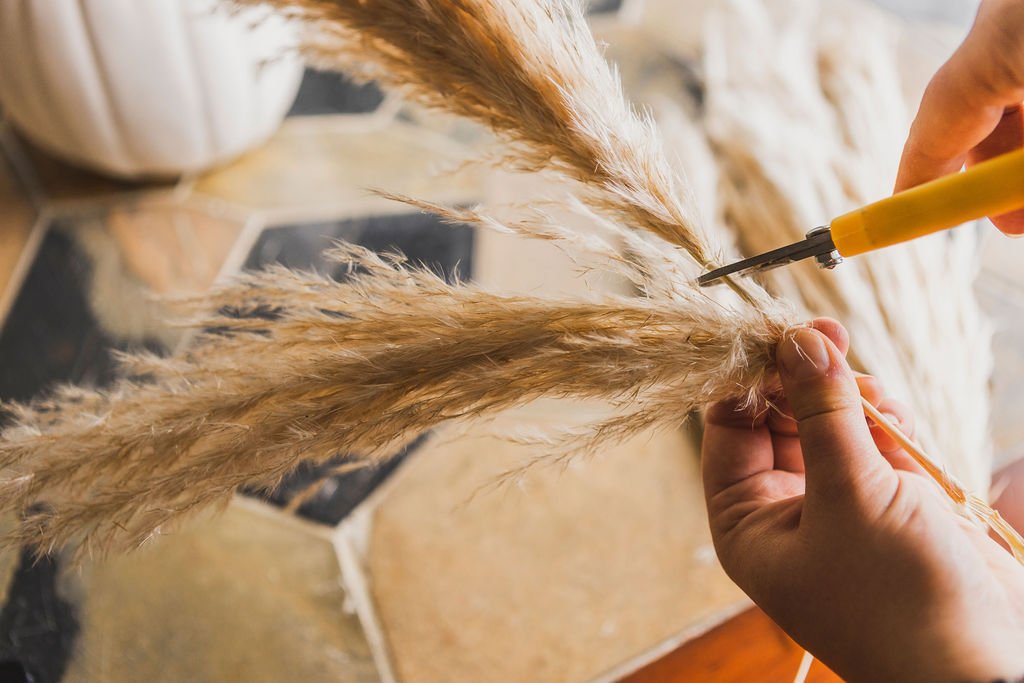
Pampas plumes are quite large, so we will want to cut them into smaller pieces using the pruners.
Step 7: Place The Pampas In The Pumpkin
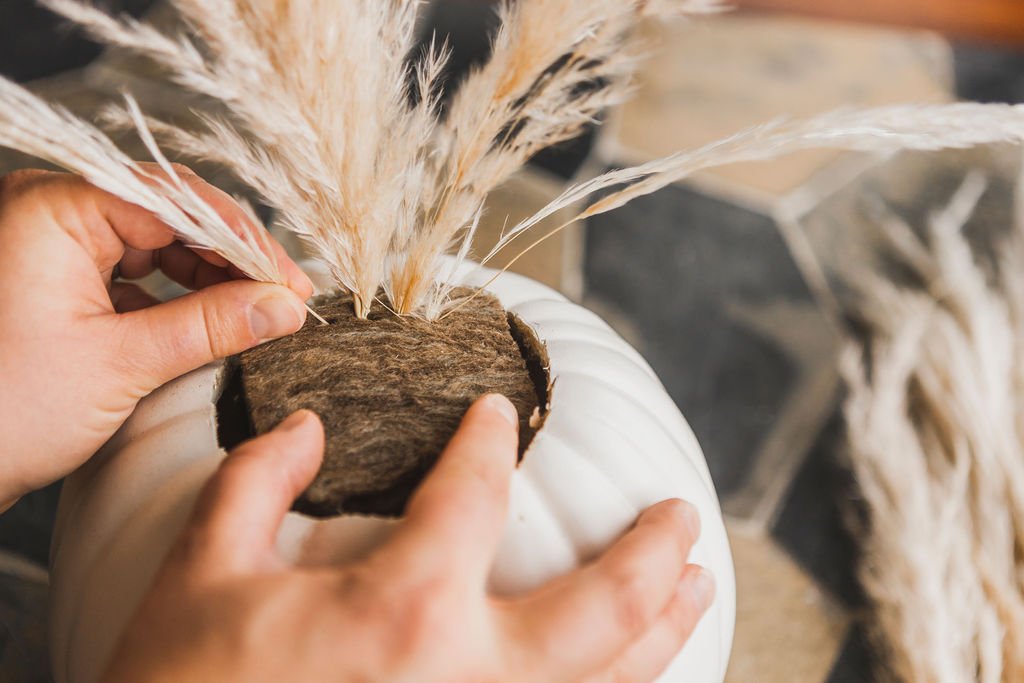
Fill the foam with the pampas, but don’t put in too much, remember, you have more dried florals to add in!
Step 8: Add in the other florals
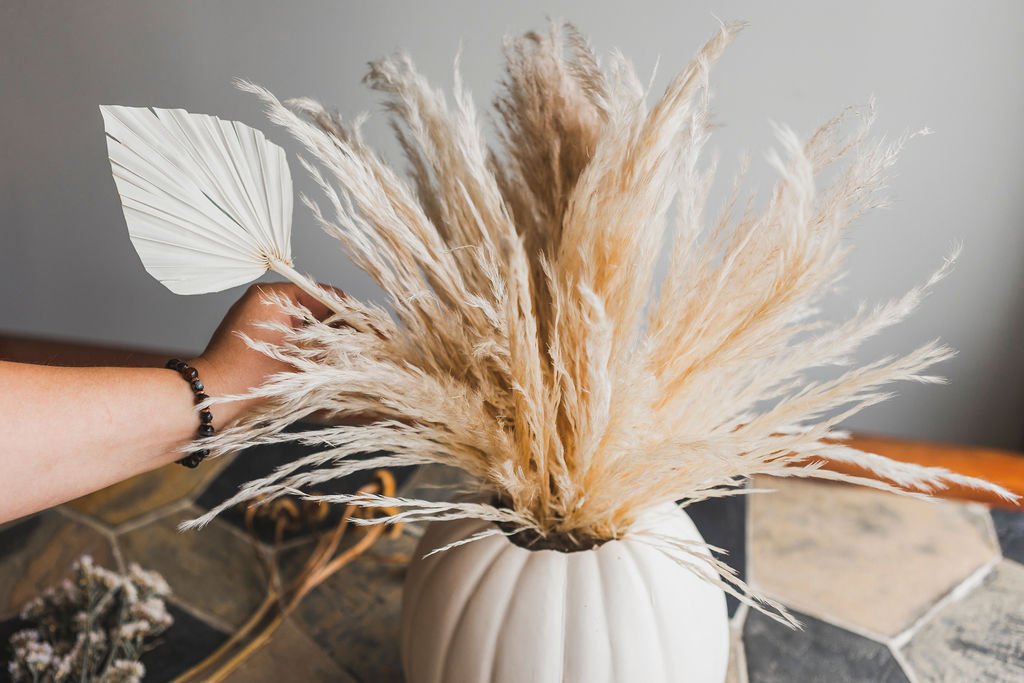
It’s really up to you how you add in the florals, its your work of art so be creative!
Step 9: Marvel At What You Made!
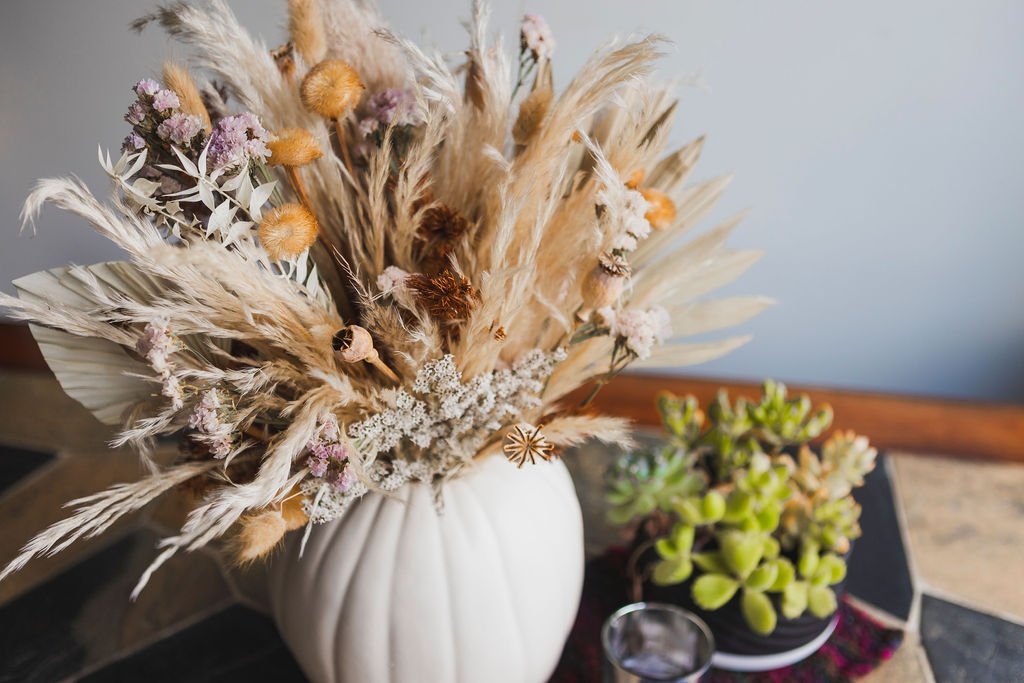
Incredible work! You did it! You deserve to be proud, and share your work of art! I hope you enjoyed this tutorial, drop me a line if you have questions!
xoxo
Sarah
Photos by Alicia Hoogveld


